Preferences reference
Open the Preferences dialog from Tools > Preferences....
Most camera-related settings are applied immediately so you can see the effect in the live preview. Click Save to keep your changes, or Cancel to restore the previous settings.
Camera tab
Device
Camera
Select the camera ShotTrainer should use for tracking.
If you connect a camera after the application has started, click Refresh to update the device list.
Rotation
Rotates the camera image by 0°, 90°, 180°, or 270°.
This is useful when the camera is mounted sideways or upside down.
Mirror
Flips the image horizontally, vertically, or both.
Use this if the camera orientation causes the preview image to appear reversed.
Invert trace
Inverts the reported aim position independently of the image itself.
This setting is useful when optical components such as mirrors, prisms, or magnifiers reverse the relationship between image movement and aim movement.
Tracking
Tracking region
Controls how much of the camera image is searched for the tracking circle.
Smaller values restrict tracking to the centre of the image and can help prevent false detections from dark objects near the edges of the frame.
Range: 0.1 to 1.0
Image
Brightness
Adjusts image brightness before tracking is performed.
Increase this value if the camera image is too dark.
Range: -100 to +100
Contrast
Adjusts image contrast before tracking is performed.
Increasing contrast can help the detector distinguish the tracking circle from the background.
Range: 0.5× to 2.0×
Auto-optimise tracking
Automatically searches for brightness and contrast settings that provide the clearest tracking signal.
The result is displayed next to the button when the optimisation completes.
Reset
Restores brightness and contrast to their default values.
Live preview
A live camera preview is displayed at the bottom of the tab.
The tracking region is shown as an overlay so you can see exactly which part of the image is being analysed.
Use the Expand button in the top-right corner of the preview to open a larger floating preview window.
Audio tab
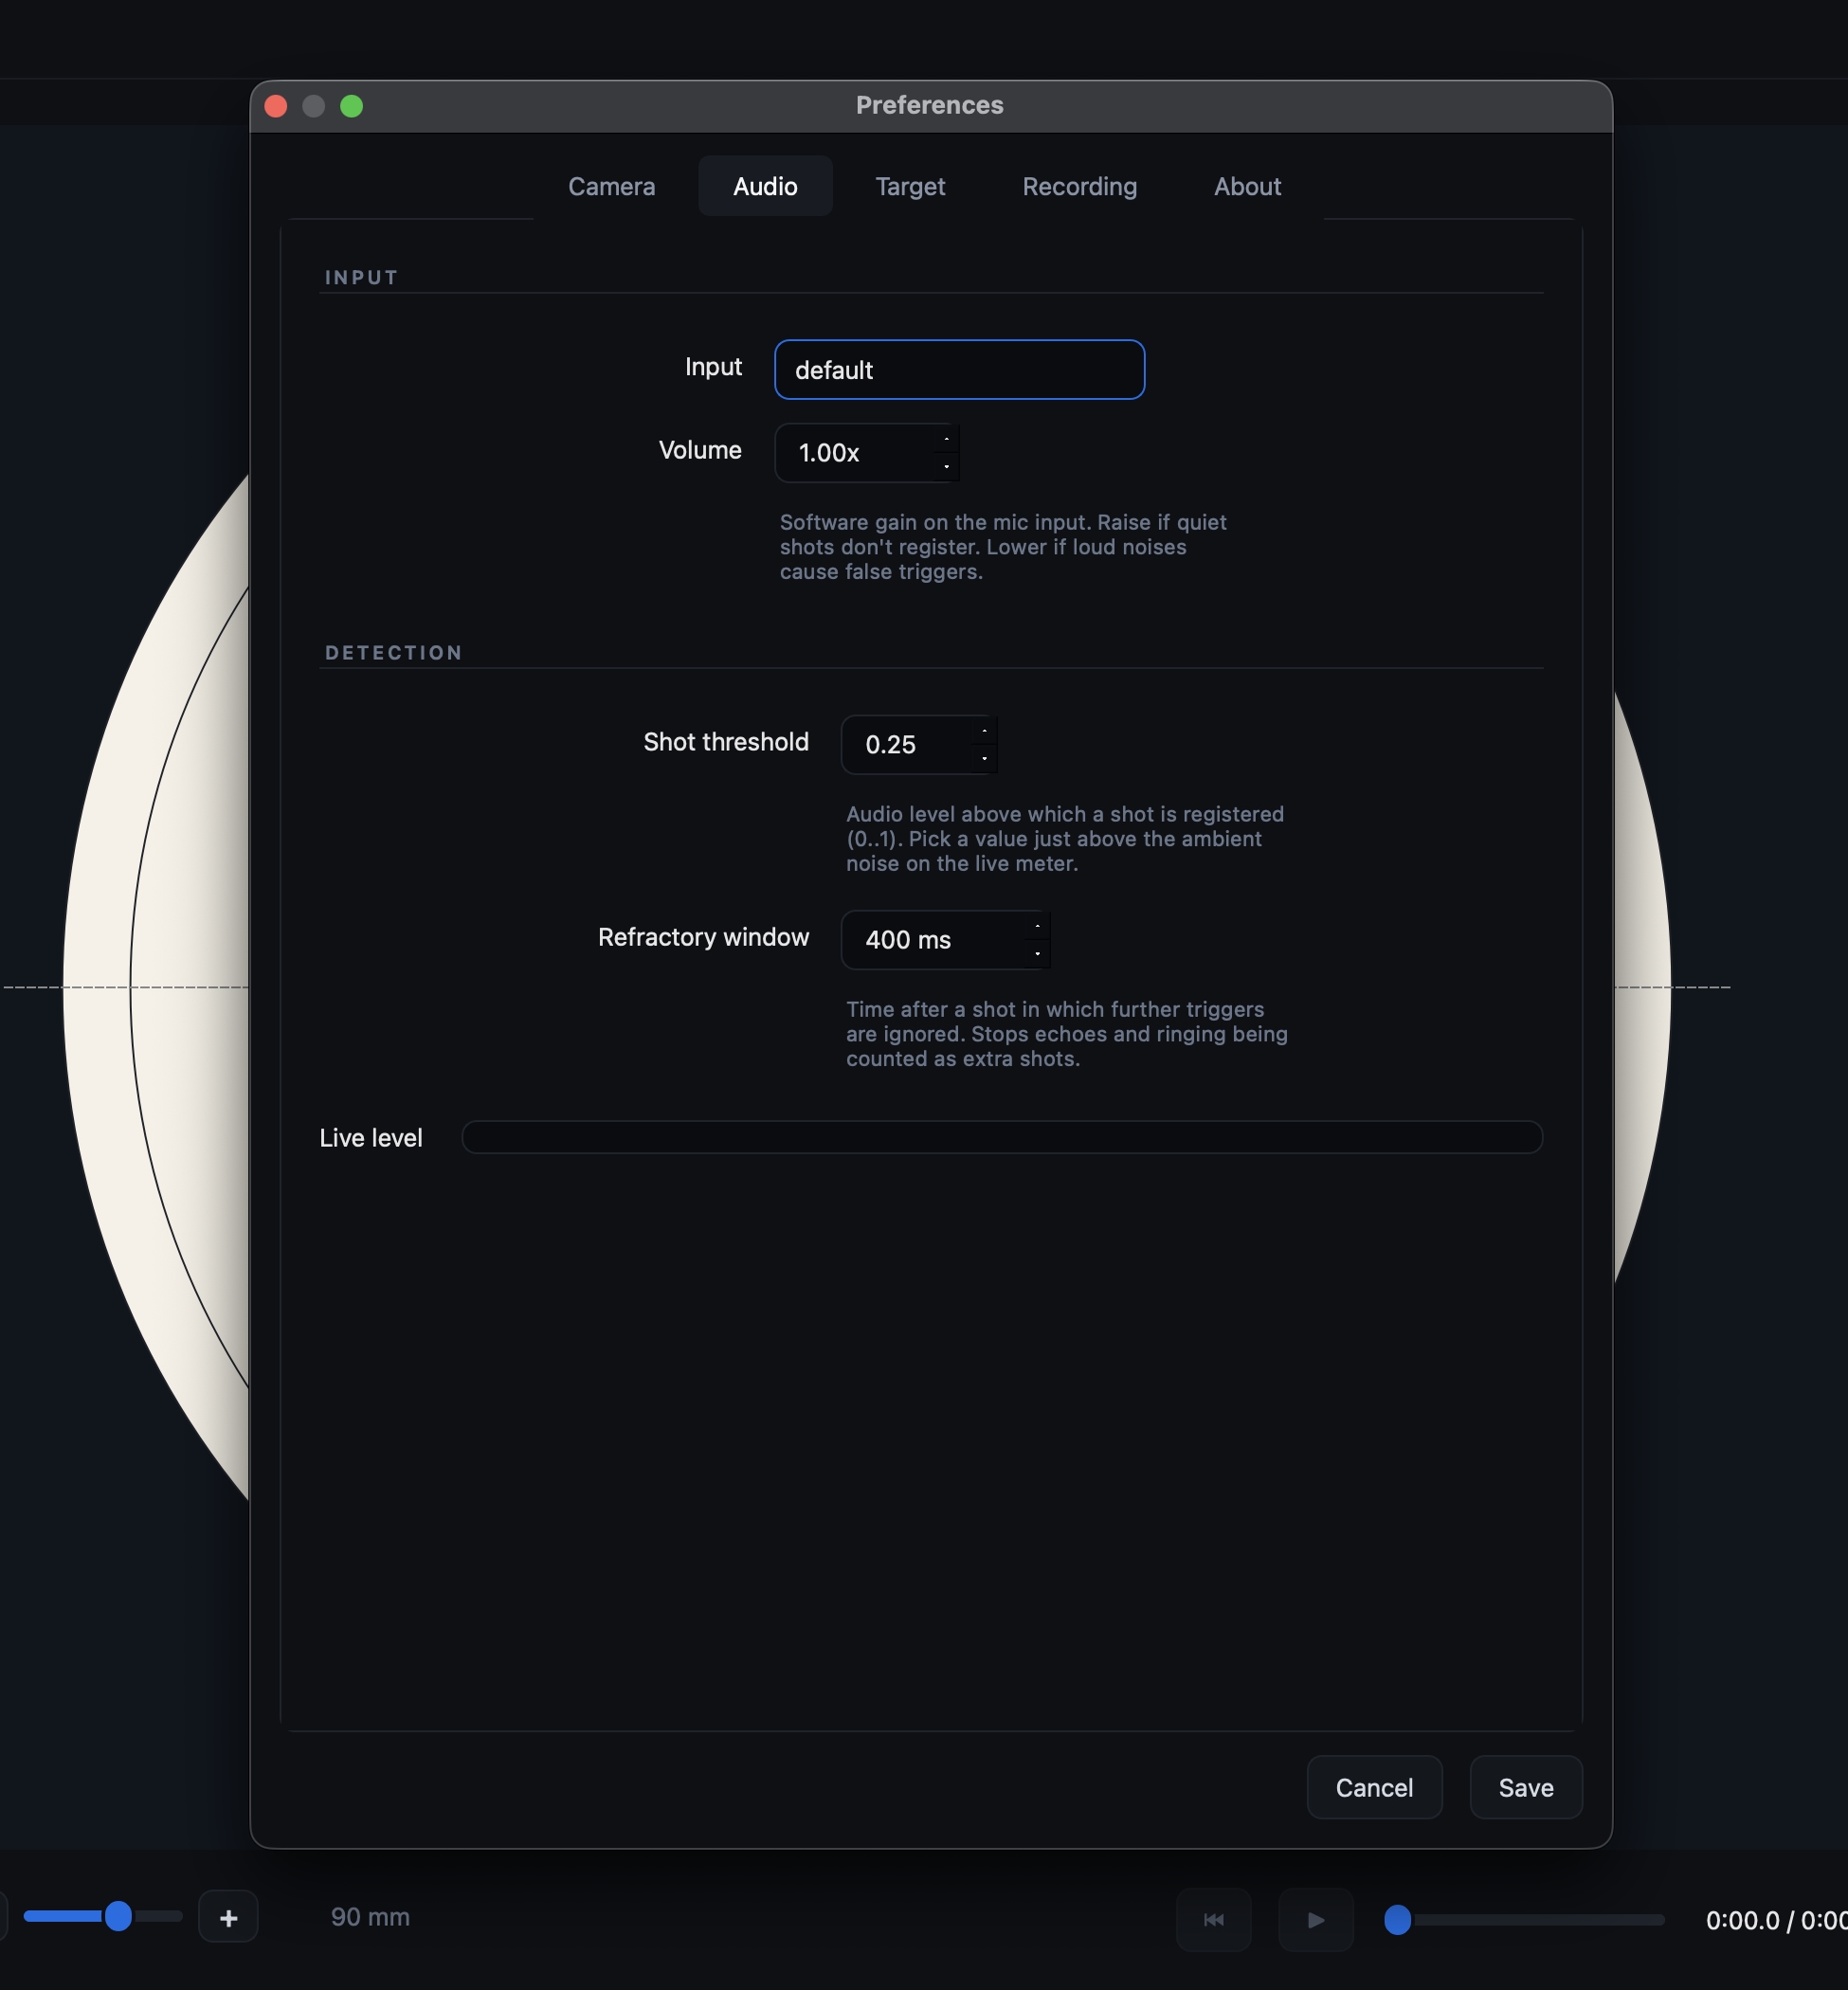
Input
Microphone
Select the microphone used for shot detection.
Choosing Default uses the operating system's default recording device.
Volume
Applies software gain to the incoming microphone signal.
Increase this value if shots are not reaching the detection threshold.
Range: 0.1× to 10.0×
Detection
Shot threshold
The audio level required for a sound to be recognised as a shot.
Set the threshold slightly above the normal background noise level shown on the live meter.
Range: 0.0 to 1.0
Refractory window
The minimum time between detected shots.
Any sounds occurring within this period after a detected shot are ignored.
This helps prevent echoes, reverberation, or mechanical noise from being counted as additional shots.
Range: 50 to 5000 ms
Level meter
A live audio meter at the bottom of the tab shows the current microphone level.
A marker on the meter indicates the current shot threshold, making it easy to see how much headroom is available.
Target tab
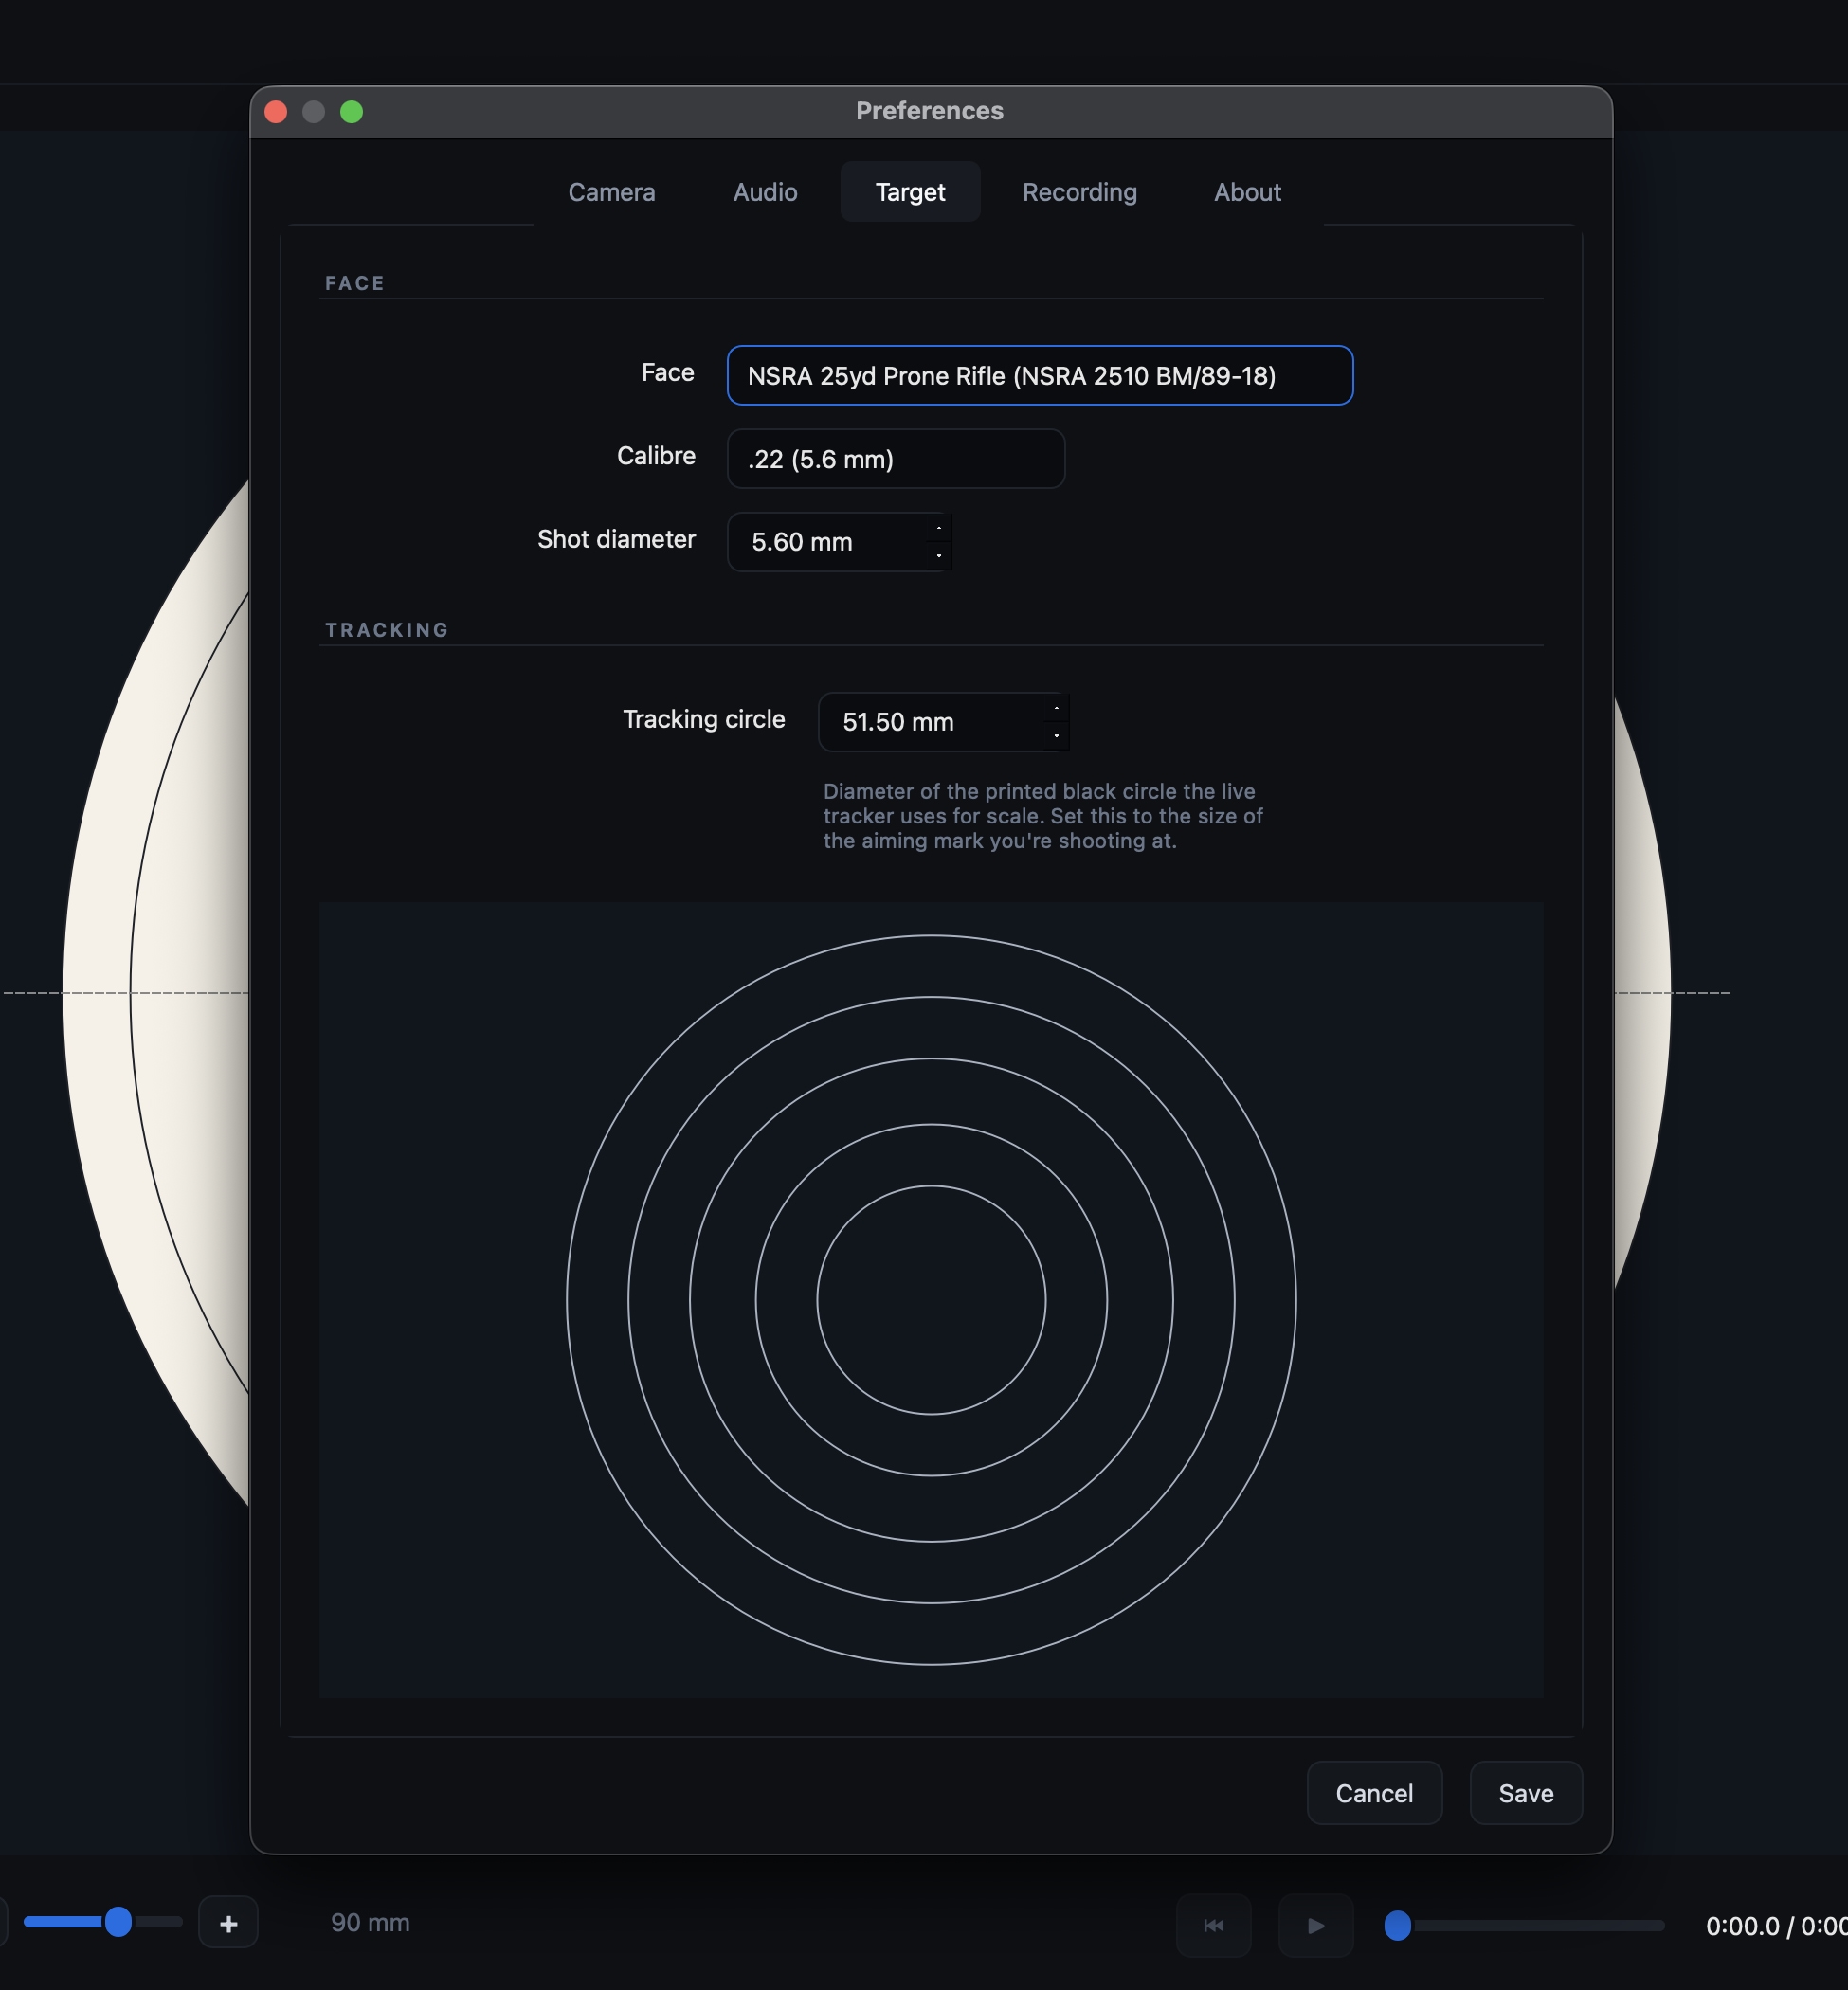
Face
Face
Select the target face used for scoring.
ShotTrainer includes a number of built-in target faces, and additional custom faces can be installed. See Using federation targets for details.
Calibre
Provides common projectile diameter presets.
Selecting a calibre automatically updates the shot diameter setting.
Shot diameter
The diameter of the projectile used for scoring calculations.
A larger diameter increases the chance of a shot touching a higher-value scoring ring.
Tracking
Tracking circle
The real-world diameter of the aiming mark or marker sheet used for tracking.
This value is used to convert camera measurements into millimetres and should match the diameter of the printed marker sheet or the target's black aiming mark.
Face preview
A preview beneath the controls shows the scoring rings for the currently selected target face.
The preview updates automatically when a different face is selected.
Recording tab
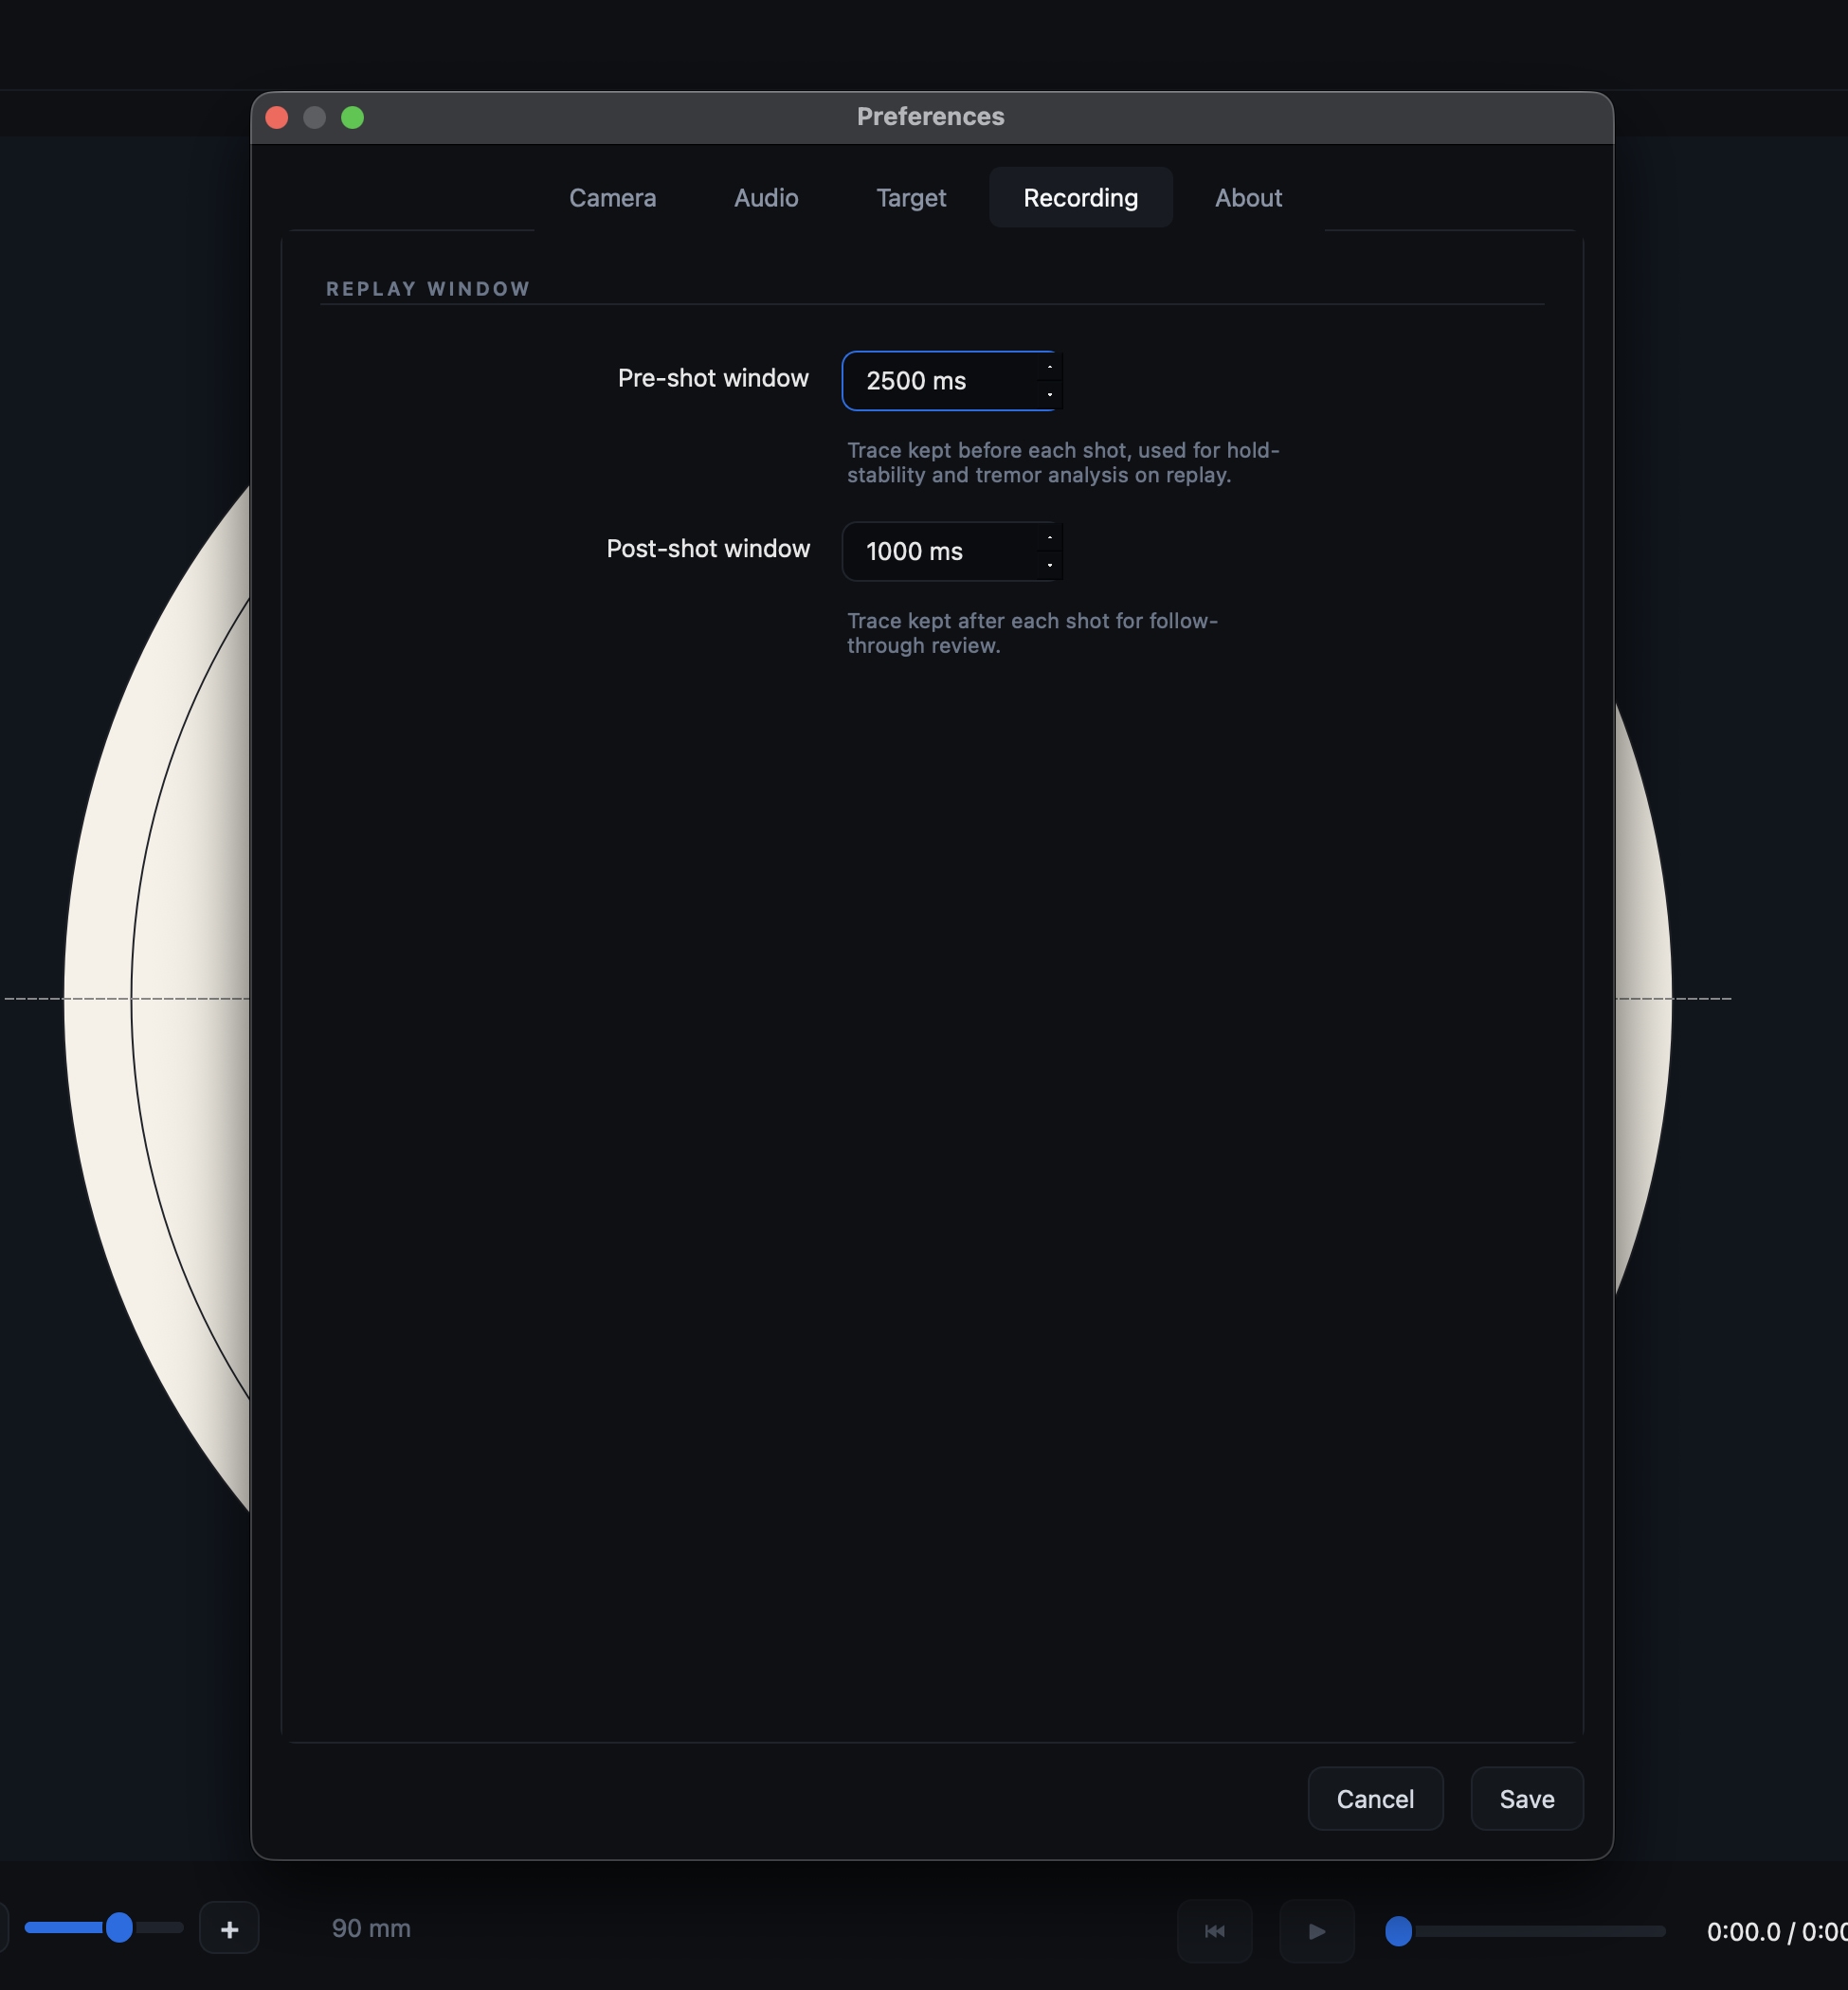
Pre-shot window
The amount of trace data retained before a shot is detected.
This data is used for hold analysis, tremor calculations, and replay.
Range: 0 to 10,000 ms
Post-shot window
The amount of trace data retained after a shot is detected.
This data is used for follow-through analysis and replay.
Range: 0 to 10,000 ms
Release window
How much of the pre-shot trace is shown as the release phase (drawn in amber on replay). The longer approach before this point is drawn in blue.
A short release window keeps the amber band tight to the moment of trigger break, which suits precision rifle. A longer one is useful for disciplines where the settle is slower, like benchrest or pistol.
Range: 50 to 2,000 ms
Show hold zone on replay
When this is on, the target view draws an amber dashed circle during shot replay. Its centre is the mean position of the pre-shot trace and its radius is the hold tremor, so the circle shows roughly where the rifle was settled before the shot broke. Turn it off to see the trace without the overlay.