Setting up your microphone
ShotTrainer uses a microphone to detect shots automatically.
When the audio level exceeds the configured threshold, a shot is recorded and the corresponding trace data is captured. No manual input is required during a session. Shoot and ShotTrainer records the event.
Choosing a microphone
Almost any microphone can be used with ShotTrainer, including:
- Built-in laptop microphones
- USB desktop microphones
- Headset microphones
- Clip-on microphones
The best choice depends on your shooting environment.
Directional microphones
Directional microphones are designed to pick up sound primarily from one direction.
They can help reduce background noise on busy ranges and often provide the most reliable shot detection in noisy environments.
Omnidirectional microphones
Omnidirectional microphones pick up sound from all directions.
They work well in quiet environments and are often sufficient for home practice, dry-fire training, or testing.
External microphones
External microphones generally provide a stronger and cleaner signal than built-in laptop microphones, particularly when the computer is positioned some distance from the firing point.
Selecting a device
Choose the microphone from:
Preferences > Audio > Input
Setting the shot threshold
The shot threshold determines how loud a sound must be before it is recognised as a shot.
The threshold is displayed as a blue marker on the audio level meter.
Recommended setup
- Open Preferences > Audio.
- Observe the level meter while the environment is quiet.
- Identify the normal background noise level.
- Set the threshold slightly above that level.
- Create a loud test sound, such as a clap near the microphone.
- Verify that the sound clearly exceeds the threshold marker.
A correctly configured threshold should:
- Ignore normal background noise
- Detect every shot reliably
- Avoid false triggers from small sounds
If shots are not detected
Increase the Volume setting first.
Only lower the threshold if necessary, as thresholds that are set too low are more likely to trigger on unrelated sounds.
Volume (gain)
The Volume control applies software gain to the microphone signal.
Range:
0.1× to 10.0×
Increasing the volume makes quiet sounds appear louder to the detector.
Use a higher value if:
- The microphone is far from the firing point
- The firearm or airgun is relatively quiet
- Shot peaks are not reaching the threshold
Use a lower value if:
- The signal is clipping
- Loud sounds are causing unreliable detection
- Background noise is excessively amplified
The volume control affects ShotTrainer only and does not change the operating system's microphone settings.
Refractory window
After detecting a shot, ShotTrainer ignores additional audio triggers for a short period.
This prevents:
- Echoes
- Reverberation
- Metallic ringing
- Backstop impacts
from being counted as extra shots.
The default setting of 400 ms is suitable for most environments.
Increase the value if echoes are causing double-counts.
Reduce it only if you need to record very rapid strings of fire.
Configure this setting in:
Preferences > Audio > Refractory window
Understanding the audio meter
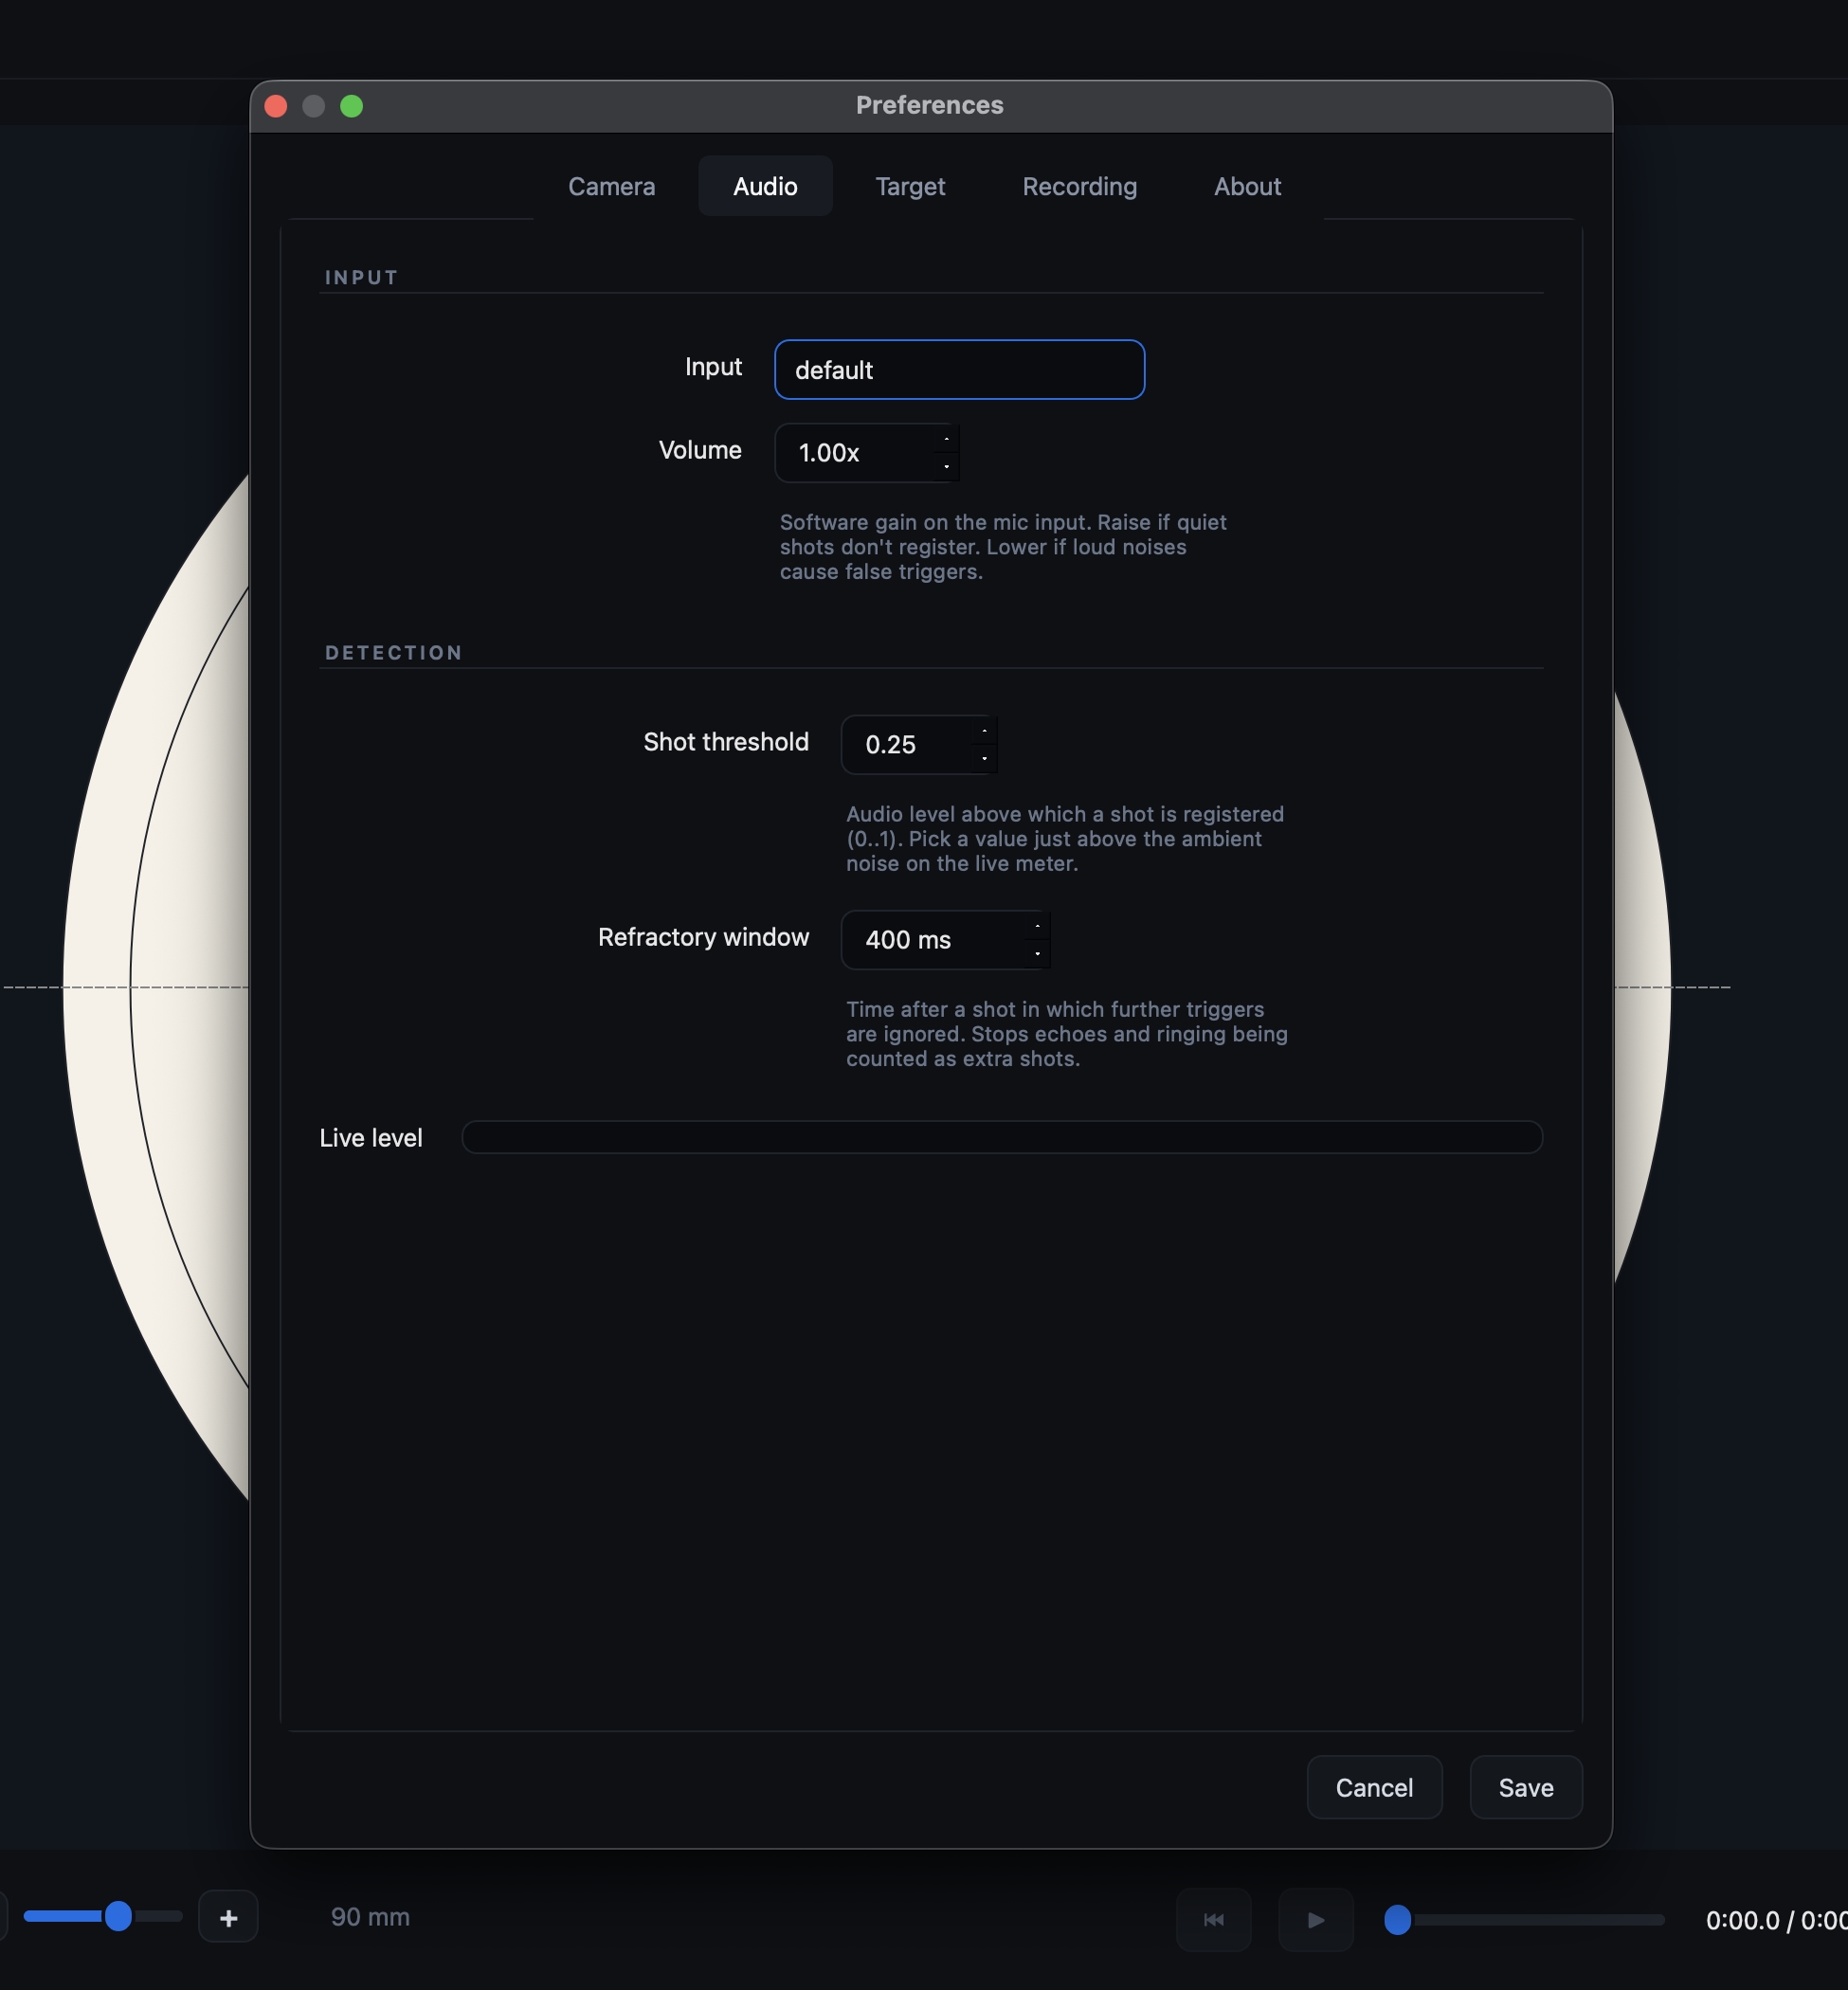
The audio meter appears in both the main window and the Audio preferences tab.
It includes:
- A live level indicator showing the current microphone level
- A peak-hold marker that briefly retains recent peaks
- A threshold marker showing the shot detection level
The meter is the easiest way to verify that:
- Background noise remains below the threshold
- Shot sounds exceed the threshold comfortably
- Gain and threshold settings are appropriate
Tips for noisy environments
If you are experiencing false triggers:
- Use a directional microphone where possible
- Aim the microphone towards the firing point
- Increase the shot threshold slightly
- Increase the refractory window to suppress echoes
- Reduce unnecessary background noise near the microphone
If detection remains unreliable, a contact microphone or external trigger system may provide better results, although these are outside the scope of ShotTrainer itself.
Platform notes
macOS
The first time ShotTrainer accesses the microphone, macOS will request permission.
If microphone access is denied, it can be changed later in:
System Settings > Privacy & Security > Microphone
Linux
ShotTrainer uses PortAudio and works with:
- PulseAudio
- PipeWire
- ALSA
Most modern Linux distributions work without additional configuration.
If no microphone devices appear, verify that:
- PortAudio is installed
- PulseAudio or PipeWire is running
- The microphone is visible to the operating system
Windows
No special configuration is normally required.
If a USB microphone is connected after ShotTrainer has started, use Refresh in the Audio preferences tab to update the available device list.